Why Microphone Technique Matters
A good microphone technique ensures clear, professional audio that resonates with your audience. Poor technique can lead to unwanted noise, distortion, and muffled sound. Proper microphone use is essential for delivering high-quality recordings, whether you’re recording commercials, audiobooks, podcasts, or character voices. Understanding how your microphone captures sound helps you maintain vocal clarity, eliminate background noise, and convey emotion effectively.
Mastering Microphone Distance and Angle
Maintaining an appropriate distance from the microphone is essential for achieving clear and consistent audio. Typically, voice-over artists should keep their mouths 6-12 inches away from the microphone. This distance prevents distortion while capturing the full tonal range of the voice. Speaking slightly off-axis, with your mouth angled slightly to the side of the microphone, can help avoid plosive sounds that occur with letters like “P” and “B.” By adjusting your angle, you can reduce unwanted air blasts without sacrificing sound quality.
Breath control plays a significant role in microphone technique. Using diaphragmatic breathing reduces the risk of audible breaths in your recordings. By inhaling deeply through your nose and exhaling slowly through your mouth, you maintain better control over your vocal delivery. This technique is especially important for long-form recordings like audiobooks and narration.
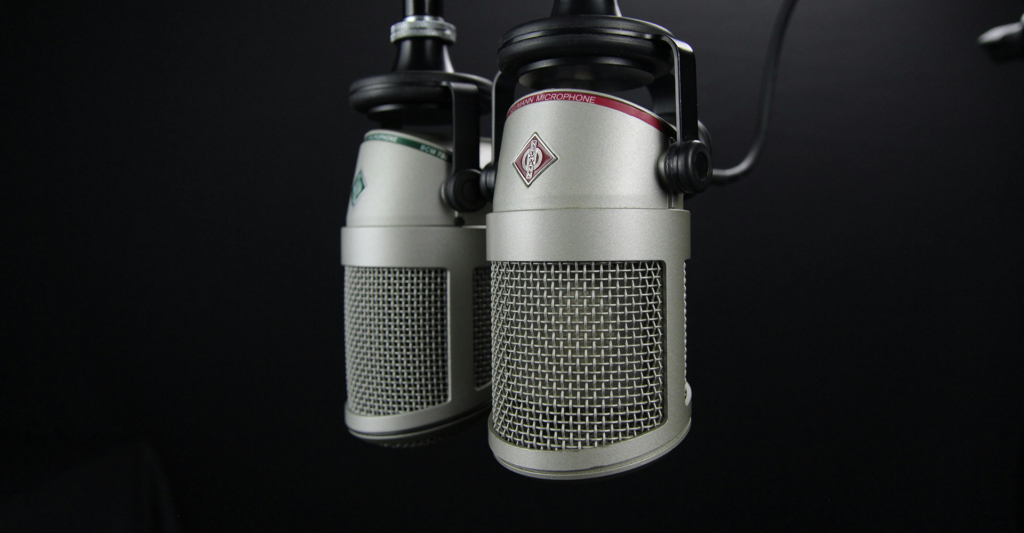
The Importance of Microphone Placement
Proper microphone placement enhances sound capture while minimizing background noise and unwanted reverberations. Position the microphone at mouth level or slightly above, angled downward. This setup captures the natural resonance of your voice while reducing noise from air movement. Avoid placing the microphone directly in front of your mouth, as this can lead to plosives and distortion. Using a pop filter adds an extra layer of protection against harsh sounds, while a shock mount isolates the microphone from vibrations caused by movements or external factors.
- Position the microphone at mouth level or slightly above.
- Angle the microphone downward to capture natural resonance.
- Use a pop filter to minimize plosives.
Selecting the Right Microphone
Choosing the right microphone depends on your vocal style, recording environment, and personal preferences. Condenser microphones are highly sensitive and ideal for studio recordings, capturing the nuances of your voice with clarity. Popular choices include the Audio-Technica AT2020 and the Neumann TLM 103. Dynamic microphones like the Shure SM7B are more durable and less sensitive to background noise, making them suitable for home studios with limited soundproofing. Some microphones, such as the Blue Yeti and Rode NT-USB, feature USB connections, offering convenience and simplicity, particularly for beginners. For more guidance on choosing the right equipment, explore this article.
| Microphone Type | Connection Type | Sensitivity | Best Use Case |
| Condenser Microphones | XLR/USB | High | Studio recordings, detailed sound |
| Dynamic Microphones | XLR/USB | Low to Medium | Noisy environments, live sessions |
Avoiding Common Mistakes
Speaking too close to the microphone can result in distortion and an unnatural proximity effect, where low frequencies are exaggerated. To prevent this, maintain a consistent distance and adjust your microphone’s gain settings as needed. Speaking directly into the microphone can create plosive sounds, so angle your mouth slightly to the side. Inconsistent distance can lead to volume fluctuations, so practice maintaining a steady position. Additionally, pay attention to room acoustics, as untreated spaces can cause echo and reverb, negatively impacting the recording quality.
Practical Exercises to Improve Microphone Technique
Recording regular exercises helps develop microphone control and confidence. Start by reading a paragraph at a consistent distance, focusing on maintaining a steady volume. Listen back to the recording and identify any fluctuations, then repeat the exercise until your volume remains stable. To reduce plosive sounds, practice reading words starting with “P” and “B,” adjusting your microphone angle until the air blasts are minimized. For better breath control, practice diaphragmatic breathing by inhaling deeply and exhaling slowly, ensuring your breaths are quiet and controlled.
- Read a paragraph, focusing on maintaining a steady volume.
- Practice reducing plosive sounds with words starting with “P” and “B.”
- Improve breath control by practicing diaphragmatic breathing.
Tips for Achieving Professional Sound
Using a pop filter is essential for reducing plosives and protecting your microphone from moisture. Experiment with different distances to find the sweet spot where your voice sounds natural and clear. Minimizing background noise is crucial, so record in a soundproofed space or use noise-reducing materials like foam panels and rugs. Monitoring your audio in real time with headphones allows you to make immediate adjustments, ensuring consistent sound quality throughout your recording session.
Examples of Professional Microphone Use
Commercial voice-overs require a clear, authoritative delivery with consistent volume, while audiobook narration benefits from a natural, conversational tone with minimal breath noise. Podcasting demands engaging and expressive delivery without distortion, and character voices often involve dynamic range and proximity effects to convey emotion. Understanding how to adjust your microphone technique for different recording contexts helps you achieve professional results across various projects.
Advanced Techniques for Experienced Artists
Experienced voice-over artists can use advanced techniques like the proximity effect to add warmth and depth to their recordings. By moving closer to the microphone, low frequencies are enhanced, creating a richer sound. However, it’s essential to balance this effect to avoid distortion. Using dynamic range effectively allows you to convey emotion by adjusting your distance for louder and softer passages. Understanding your microphone’s polar pattern, such as cardioid or omnidirectional, helps optimize sound capture and reduce unwanted noise.
Final Thoughts
Mastering microphone technique is essential for delivering professional voice-over recordings that capture the listener’s attention. Maintaining a consistent distance, using proper angles, and controlling your breath are key to achieving clear, engaging audio. By selecting the right microphone, understanding its capabilities, and practicing regularly, you can enhance your vocal delivery and produce high-quality recordings that stand out in the competitive voice-over industry.