Typically distortion is unwanted in audio, especially for speech, because it makes it incomprehensible, harsher and unpleasant to listen to. However, there are times when you want to add it to create a certain audio effect. For example, in creating retro sounds, certain memes may require bad quality distorted audio or creating a bad signal effect might also find distortion useful.
Adobe Audition has all the necessary tools to make your audio sound distorted. We’ll discuss different methods, such as applying the Distortion effect, lowering bit depth and sample rate, and clipping your audio.
Applying Distortion Effect in Adobe Audition
Adobe Audition has a built-in Distortion effect. You can find it at Effects->Special->Distortion. It’s an axis based effect. X axis stands for input and Y axis stands for output. To attain the most distortion at the highest volume, you’ll have to move both the green and red lines to the top, which will give the highest output for each input value and create the biggest input-to-output ratio.
By default dB Range will be set to -60dB. By setting it to the maximum of -120dB, you will have access to more distortion.
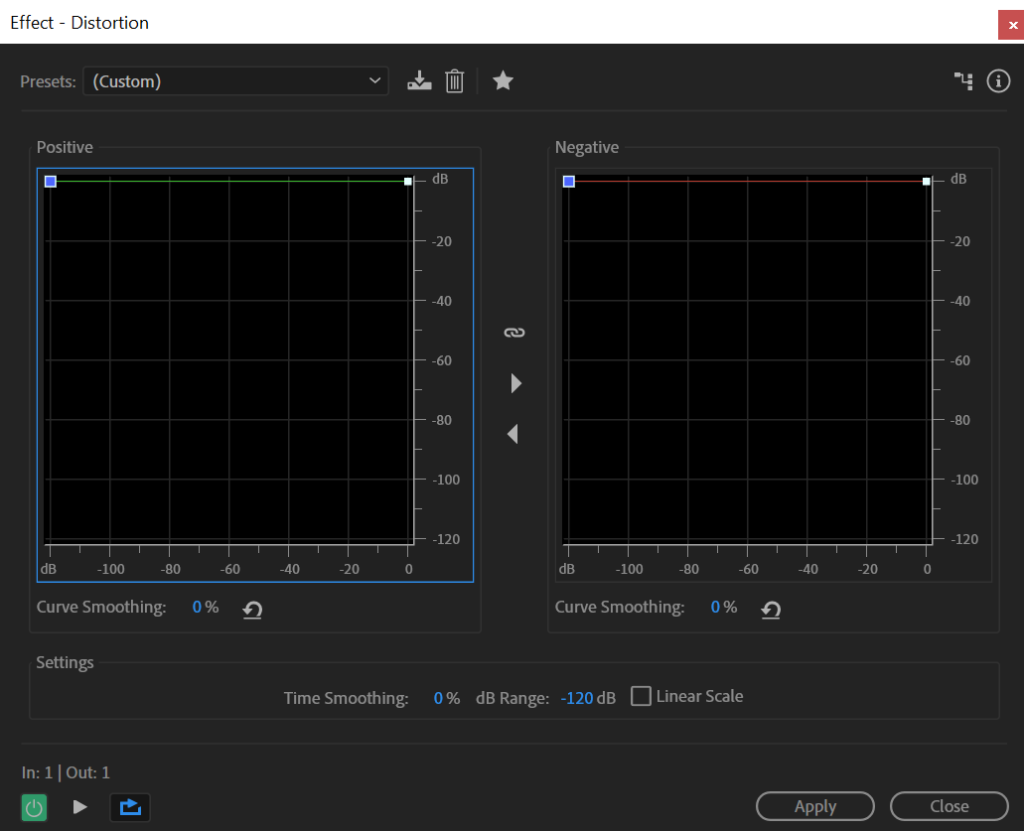
If you move your lines below the default diagonal line, it’ll create a quieter distortion, while moving it upwards creates a louder distortion.

Distortion effect will make your audio sound bad, similar to audio clipping you would experience when overdriving your microphone. However, a little distortion might give your audio a distinct quality you would have when speaking through radio transmission or any sort of lower quality audio device.
Normal audio:
Slight distortion (Snakeskin preset):
Maximum distortion (LOWER YOUR AUDIO VOLUME BEFORE LISTENING):
Adding Distortion by Lowering Bit Depth and Sample Rate
When recording your audio interface converts an analog signal coming from the microphone into a digital signal which can be read by the computer. Sample rate and bit depth determine the quality of the digital signal you get when converting from analog. Sample rate is the rate by which the sound is captured and bit depth tells you how detailed each sample is. By using higher sample rate and higher bit depth, analog to digital converter captures higher quality audio.
In Adobe Audition, you have the option to alter both sample rate and bit depth when exporting your audio. By choosing lower exporting settings, you can mimic older recording devices that didn’t have the capability to record high-quality audio.
To lower your bit depth, follow these steps in Adobe Audition:

Normal audio:
6000Hz Sample rate, 8-bit Bit depth audio:
Using Audio Clipping to Introduce Distortion
Audio clipping happens when audio input is too high and goes above 0dB while recording or you can introduce clipping by amplifying your audio above 0dB while editing. When audio signal goes above 0dB some of the information is lost and that gives a harsh, metallic sound quality to your audio. The more you go above 0dB the worse it gets.
In Adobe Audition, you can clip your audio by using Amplify effect, once the waveform goes above 0dB you start losing audio information and introduction audio clipping and distortion.

Normal audio:
Audio clipping: