Audio distortion is created by overloading the audio input. Naturally, distortion occurs when we set up the gain level too high or when the input volume is too loud. However, you can distort audio in Premiere Pro using a Distortion effect from the Premiere Pro’s Audio effect library.
Distort audio in Premiere Pro:
- Add your audio track to the timeline
- Go to Effects->Audio Effects->Special->Distortion
- Drag the Distortion effect onto your audio
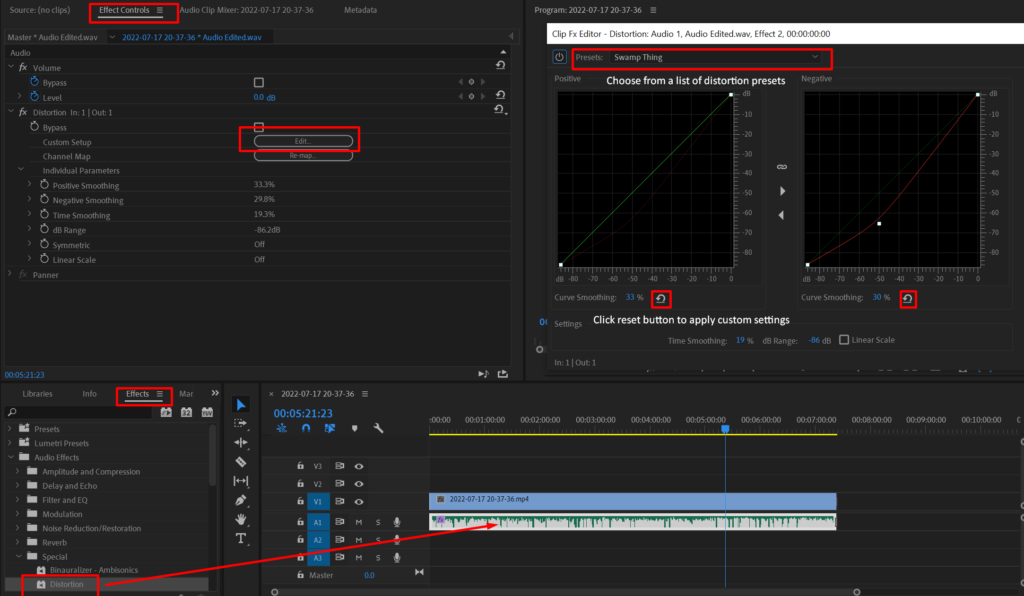
- Go to Effect Controls->Distortion->Custom Setup->Edit
- Choose Distortion preset or create a custom effect
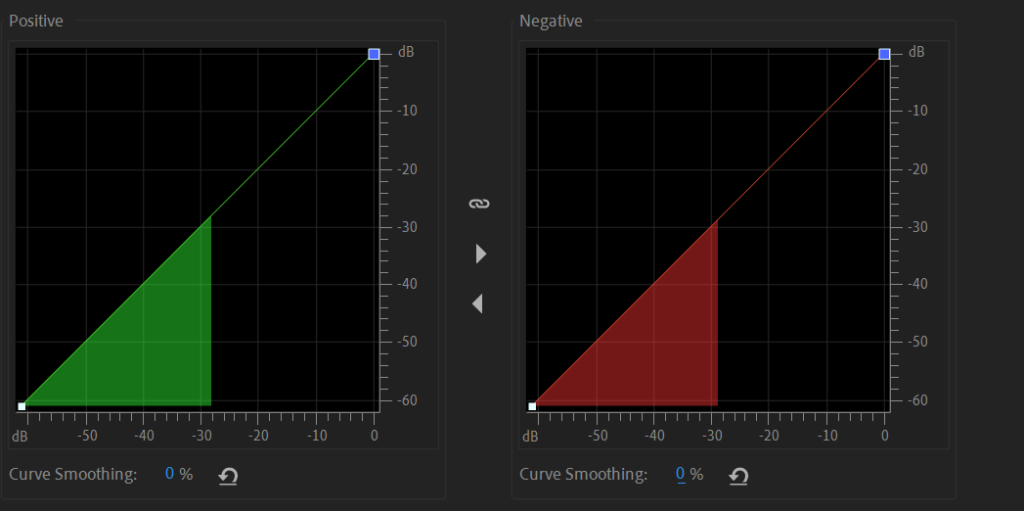
When the distortion graphic is diagonal, there is 0 distortion to your audio. To make the audio distorted, you’ll have to move the graphic towards the left and the top. The closer to the top left corner the more distorted your audio will become and it applies to both positive and negative graphics.
I recommend trying out presets as they cover most options of what you would want from Distortion effect.
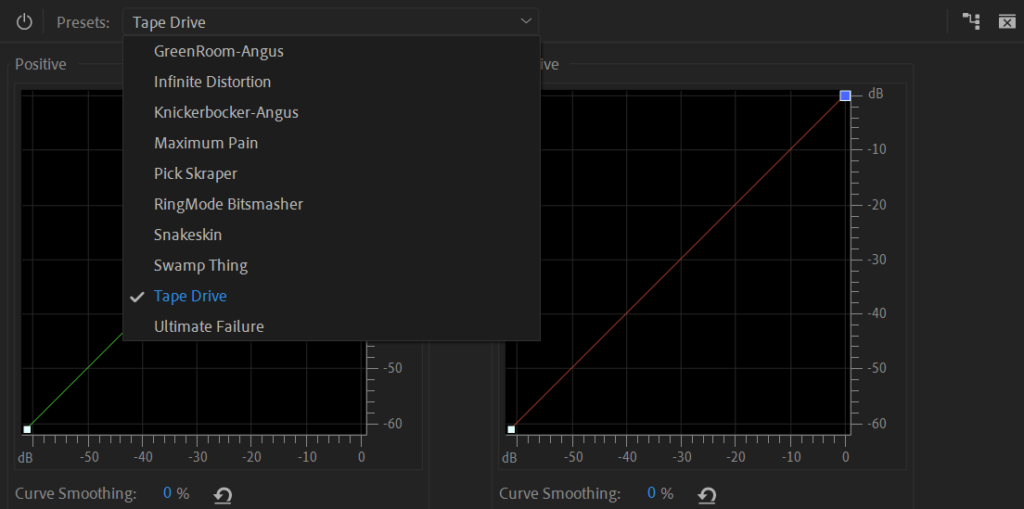
Harsh distortion presets:
- Infinite Distortion
- Maximum Pain
- RingMode Bitsmasher
- Ultimate failure
Medium distortion presets:
- Knickerbocker-Angus
- Pick Skraper
- Tape Drive
Subtle distortion presets:
- GreenRoom-Angus
- Snakeskin
- Swamp Thing
Alternatively, you can distort your audio naturally by following these tips:
- If you’re using a pre-amp or audio interface record audio at a maximum gain level
- Get as close to the microphone as possible
- Speak into the microphone as loud as possible