To fade out audio in Premiere Pro click the right mouse button at the end of your audio recording within the timeline and click Apply Default Transitions.
You can also fade in your audio the same way, except by applying the default transition to the beginning of your audio.

If you don’t want to apply the default transition to both audio and video simultaneously, in that case, you’ll have to either delete the transition from the video part of your footage or unlink the video and audio before applying default transitions.
To unlink video and audio in Premiere Pro:
- Click the right mouse button on the track in the timeline
- Choose Unlink
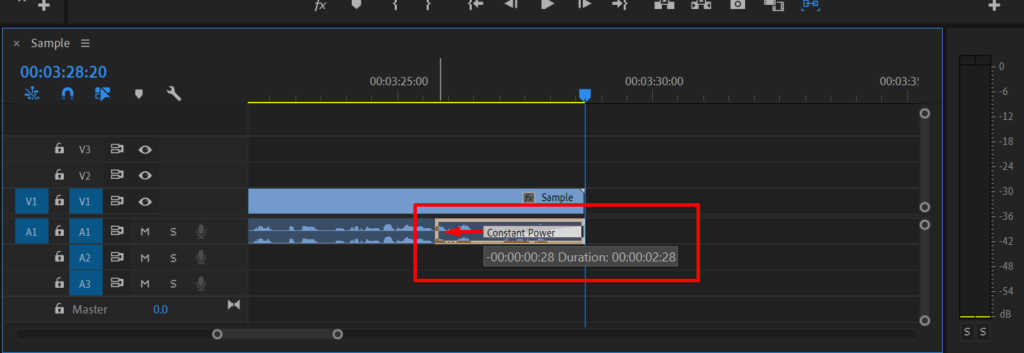
You can also adjust the length of the audio transition by dragging the transition bar in the timeline to make it longer or shorter.
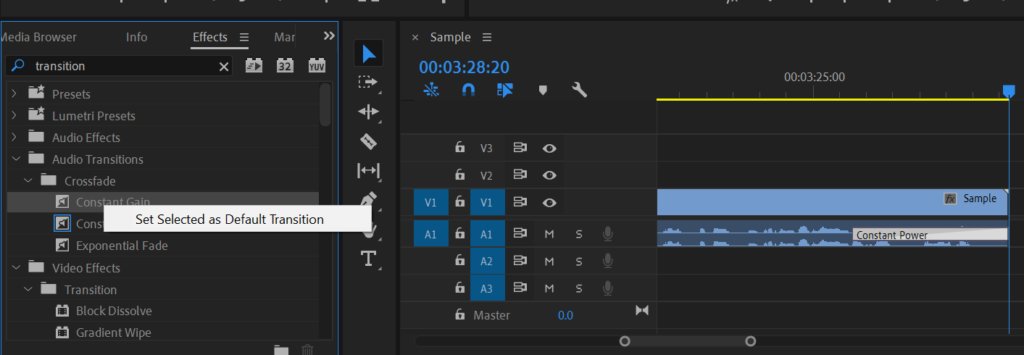
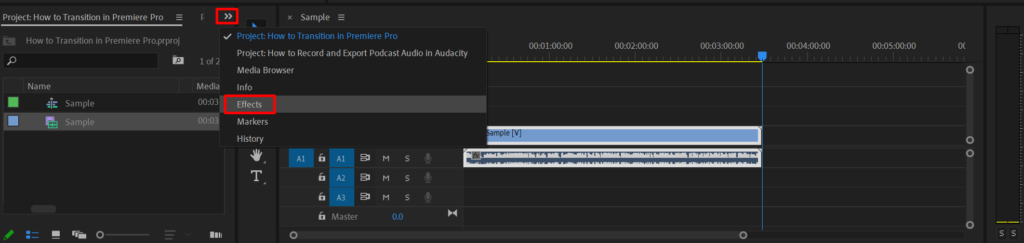
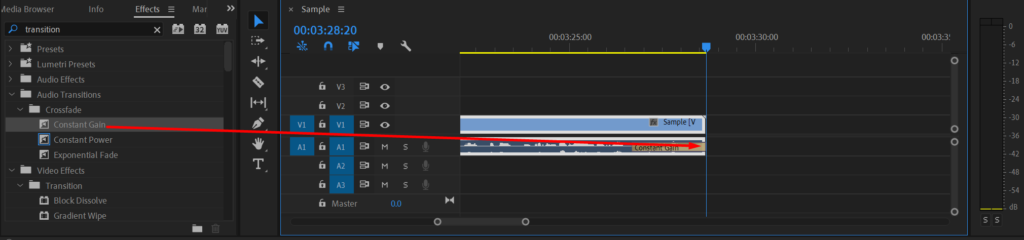
You can apply other audio transitions in Premiere Pro by:
- Going to the Effects menu
- Typing in ‘transition’
- Dragging and dropping the transition of your choice onto the timeline
You’ll find there are three Premiere Pro audio transitions:
- Constant Gain
- Constand Power (Default)
- Exponential Fade
To change the default audio transition click on the transition of your choice within the Effects menu and then choose Set Selected as Default Transition.