Premiere Pro has a built-in effect called DeReverb for removing echo within your audio.
Here’s a step-by-step guide on how to remove echo from audio in Premiere Pro:
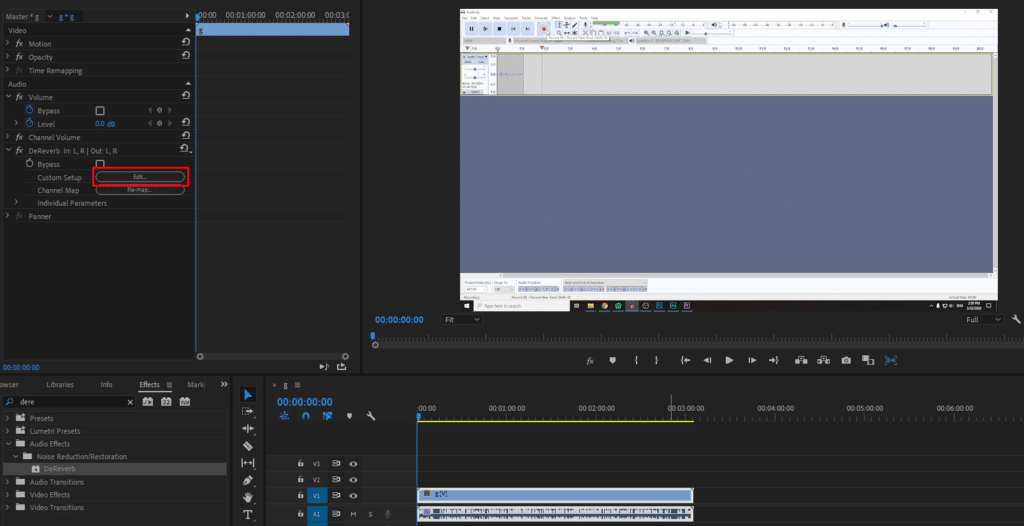
- Go to Effects>Audio Effects>Noise Reduction/Restoration>DeReverb
- Drag the DeReverb effect onto your audio track in the Premiere Pro timeline
- Click on the Edit button within DeReverb effect settings
- Adjust Amount parameter to your liking. 40% is optimal.

In DeReverb ‘Amount’ parameter will determine how much of the echo you want to cut out. However, be cautious with this parameter as setting it too high will reduce your audio quality.
I found out that for typical recording within a home space 30-40% echo reduction is optimal. You can go higher if your recording has a lot of reverb, but it will cause other problems in your recording if you set it too high.
Also, by using DeReverb effect you reduce audio volume, but if you mark Auto Gain check box, the Premiere Pro will make up for the loss in volume, so it’s probably the best to keep the box checked, which is a default setting.
You can also mess around with Processing Focus options which allow focusing on particular frequencies. However, in my experience, I found that the default flatline curve is the best.
Read more about preventing reverb and choosing the best recording environment in this article. For optimal gear which will help to diminish reverb, I recommend reading the Complete Guide to Audio Recording Equipment.