Reverb is a tool in Audacity that will add reverberation to your audio. Reverberation is multiple echoes creating a continuous, prolonged sound. Reverb is used to make an impression of reverberating spaces of various sizes, such that has very few soft surfaces that could absorb and dampen the sound.
Reverb is rarely used for voice over, more often we try to get rid of it. However, it could be used to create a certain voice effect such as recording in different environments or a non-human voice. On the other hand, reverb is one of the most used effects by music producers.
Naturally, reverb is created by the sound hitting back and forth between solid surfaces and reverberating in the room. For that reason adding reverb via software can give an imitation of a certain size room depending on what kind of reverb settings you use. If you ever wanted to add reverb naturally, try recording in your bathroom.
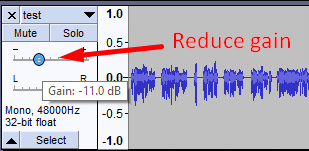
You can add reverb to your single mono audio track, but it’s preferable to create a second, duplicate track to have more control over the dry and wet sound. Playing an original (dry) audio besides a reverb track audio (wet) will make it sound much more realistic. If you feel like the original audio is overpowering then reduce its gain to get the desired effect.

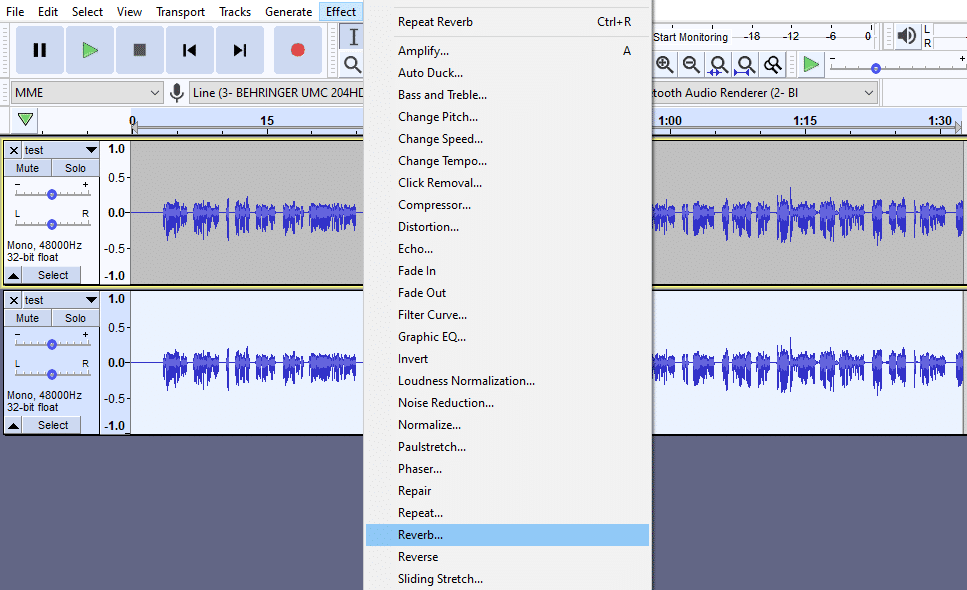
You can add reverb to your audio in Audacity by duplicating your audio track, selecting the duplicate track and going to Effect->Reverb.

Once in the reverb menu, you’ll have control over many settings. You can find an in-depth guide about each of the settings in Audacity’s Wiki.
The first three settings (Room Size, Pre-delay, Reverberance) will be the most influential when using the effect, while other settings will help to fine-tune the reverb.

The default reverb settings are a good starting point and will give a medium reverberation. However, you can find more presets for reverb in a Manage->Factory Presets section. Also, you can create and save your own presets.

You can read more about different room acoustics for recording in this article.
