The best room for home recording is the one with the softest surfaces such as rugs, mattresses, thick curtains, bookshelves and clothes. Usually, it is either a walk-in closet or a bedroom.
In this article, we will overview the best possible (and worst) places in your apartment or house to record in and how to treat them acoustically for the best audio quality.
Walk-in closet is usually the best room for home recording
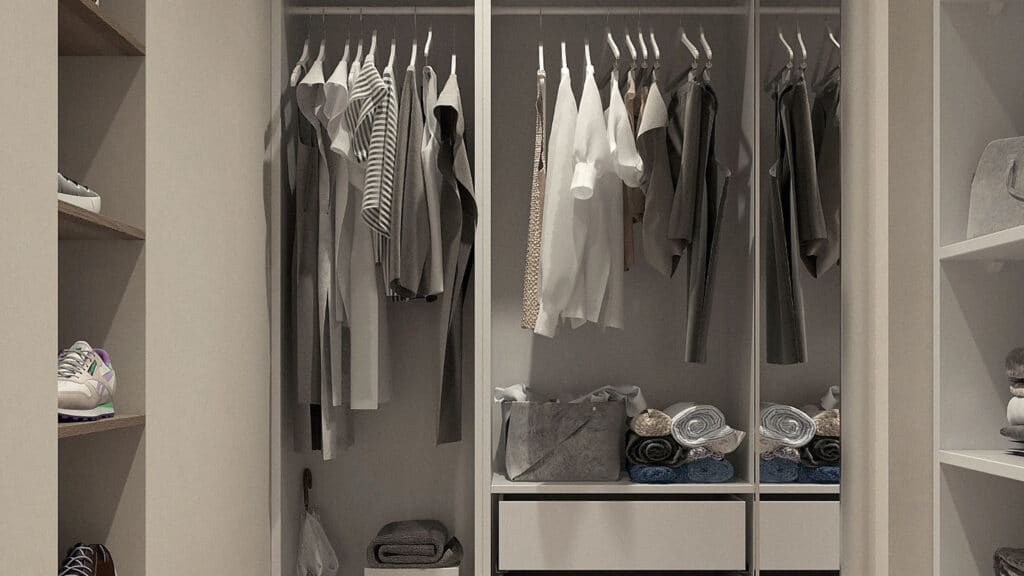
Walk-in closets with clothes covering all walls are almost perfect for recording audio as clothes are soft and absorb sound very well. They are small and therefore cheap to treat acoustically and a lack of windows prevents street noise. If you own a walk-in closet, it’s probably the best room to convert into a recording studio.
Usually, the only uncovered surface in a walk-in closet is the ceiling; you might want to treat it for the best results.
Also, if you have a walk-in closet with lots of shelves such as in the photo above, then you can fill them in with pillows, duvets or any bedding to avoid having empty gaps.
On the other hand, if your walk-in closet’s walls are not completely covered by clothes or shoes, your audio might sound quite boxy.
If that’s the case, I would either choose another room to record in or try to improve acoustics with additional acoustic treatment.
How to improve the walk-in closet’s acoustics?
You could use Rhino Acoustic Absorption Panel or similar acoustic panels to treat your ceiling and empty walls. They are easy to attach with 3M double-sided tape strips and significantly reduce echo from the ceiling. I like Rhino panels because they look much better than traditional foam ones.
Also, another easy option to reduce reverb is to put a soft rug to eliminate any standing sound waves between the floor and the ceiling. Using both, acoustic foam and a rug will give the best results.
Below is a table for reference on how much you might spend for ceiling or floor acoustic treatment in a walk-in closet, bedroom and living room.
An average walk-in closet is between 5-6m² (16-20ft²) and will cost 65$-430$ to get rid of or attenuate standing waves.
| Item | Price per m² | Walk-in closet (5m²) | Bedroom (12m²) | Living room (20m²) |
| 2.5 cm Acoustic foam | 13$ | 65$ | 156$ | 260 |
| 5 cm Acoustic foam | 28$ | 140$ | 336$ | 560$ |
| 10 cm Acoustic foam | 86$ | 430$ | 1,032$ | 1,720$ |
| Rhino Acoustic Absorption Panel | 82$ | 410$ | 984$ | 1,640$ |
| Rug | 25$ | 125$ | 300$ | 500$ |
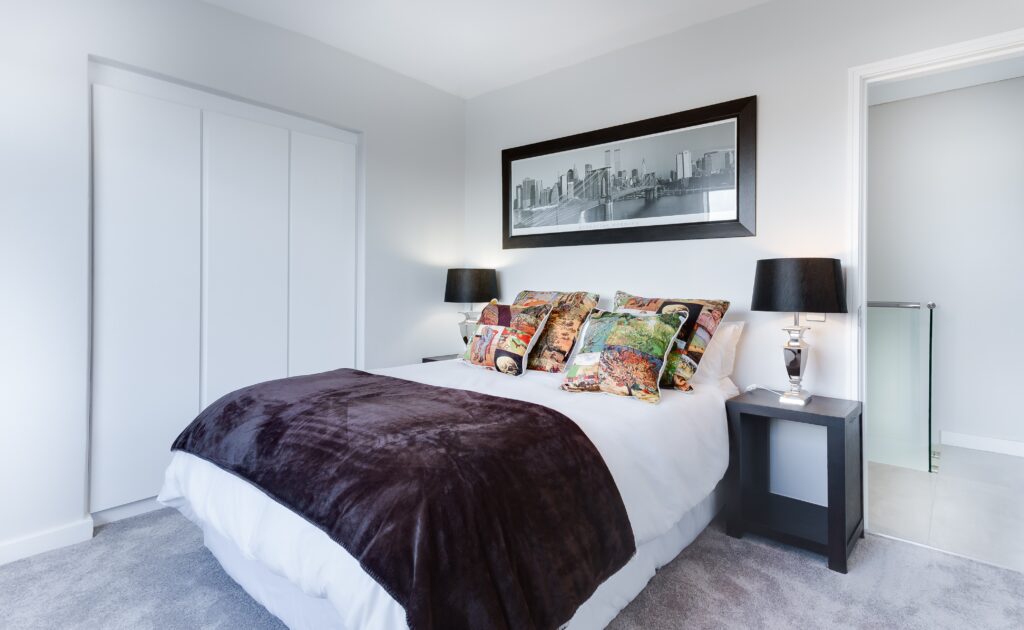
Bedrooms have soft surfaces that absorb a lot of reverb
Bedrooms are one of the most viable rooms for home audio recording as they have a lot of soft surfaces that absorb sound:
- Bed mattresses
- Beddings
- Clothing closets
- Rugs
- Curtains
However, compared to walk-in closets, bedrooms have more empty wall space and are generally larger. An average apartment bedroom is around 12m² (130ft²), making it more expensive to treat acoustically.
If you’re recording in a bedroom, try to record further away from the walls and closer to softer surfaces. You want to have something soft right behind the microphone because that’s where the sound will bounce off first.
You could try placing the microphone near a hanger stand or an open clothing closet. Clothes will absorb most of the sound.
Using a C-stand and duvet combination is also an option. Just hang the thickest duvet you own onto a C-stand or regular mic stand and place it behind a microphone. This will prevent the sound from going further past the microphone and bouncing off the walls back into the microphone.
Recording in a living room might be expensive, but it’s viable
Living rooms (~20m²) are generally even larger than bedrooms, making them expensive to treat acoustically. Still, living rooms could be converted into a recording room by adding soft furniture and some acoustic treatment.
Sofas, soft rugs, thick curtains and bean bag chairs can help to minimize reverb in the room and make it an acoustically more viable option for home recording.
To save up money you could try placing acoustic panels strategically on spots that will cause the most reverb and noise troubles:
- Behind the microphone
- Corners of the room
- Doors
In addition, you can try using door seals to prevent noise coming from other rooms and window seals to prevent noise from coming through windows.
Worst places to record at home
Avoid recording audio in the bathroom or kitchen as they are the worst places to record audio at home.
Rarely any of these rooms have soft surfaces or cushioned furniture and they have lots of solid, shiny, uncovered surfaces that will cause the sound to bounce back and forth creating a lot of unwanted reverb and static waves.
In addition, fridges in the kitchen and water pipes within the bathroom often cause some noise that could be caught in your audio recording.
If you live in a studio apartment, you might not have options other than to record near the kitchen.
To avoid external noise and unwanted reflection in a studio apartment, try to place your microphone furthest away from possible noise sources such as a fridge, window, air conditioner, or heater and place the microphone nearest to soft furniture.
In addition to using acoustic panels to reduce reverb, you might consider acquiring Kaotica Eyeball or Alctron PF8. They are very good value for how effective they are and could be used in any room.
You can read more about how to avoid background noise when recording audio in this article.
Pingback: How to Record High Quality Audio on a Smartphone? - Voice Over Tip
Pingback: How to Remove Reverb in Adobe Audition? - Voice Over Tip
Pingback: How to Use Reverb in Audacity? - Voice Over Tip
Pingback: How to Reduce Reverb When Recording? - Voice Over Tip