Reaper offers all the basic functionalities you would expect from a DAW (Digital audio workstation), including splitting, cutting, snapping and merging your audio clips.
Splitting clip
To split audio in Reaper place your marker at the part where you want to split and click ‘S’ on your keyboard or alternatively, you can click the right mouse button and choose the option ‘Split items at cursor’.

Enabling snapping
Before attempting to merge your clips it’s a good idea to enable a snapping tool which will allow you to accurately place two audio clips next to one another. Otherwise, you risk overlapping them or creating a gap.
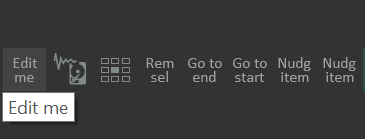
To enable the snapping tool click the ‘Edit me’ button to customize your toolbar.
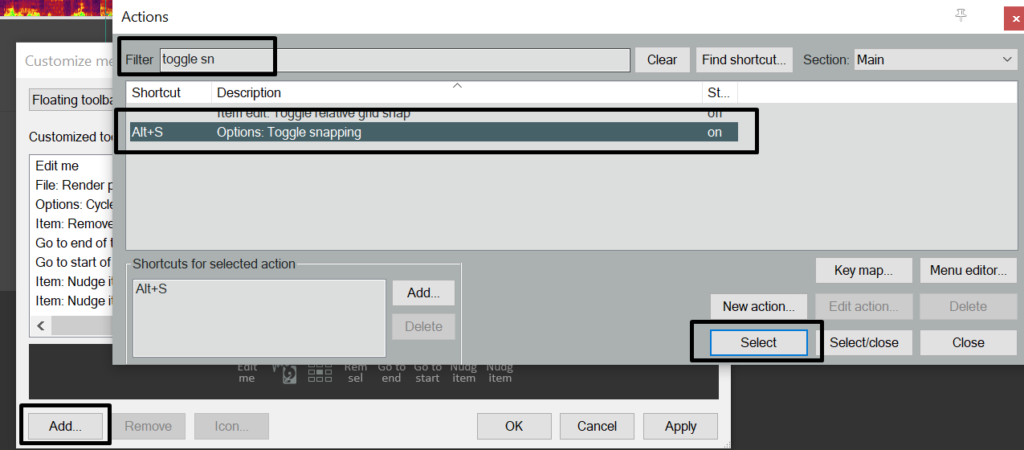
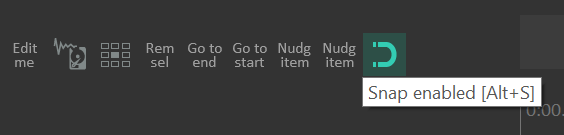
Next click ‘Add‘ button which will open ‘Actions‘ menu. Look for ‘Toggle snapping‘ button and click ‘Select‘. Afterward, click the ‘Apply‘ button and a magnet will appear within your toolbar which once clicked will enable the snapping option.
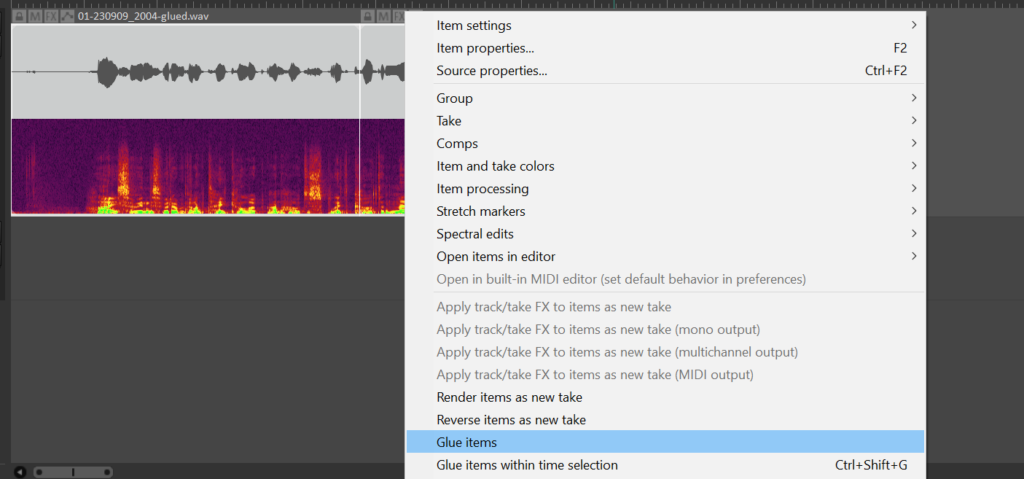
Merging clips
Once snapping is enabled, drag a clip next to another one and select both clips while holding ‘CTRL’ button. Click the right mouse button and look for ‘Glue items’ option, which will merge the two clips together.
Cutting clips
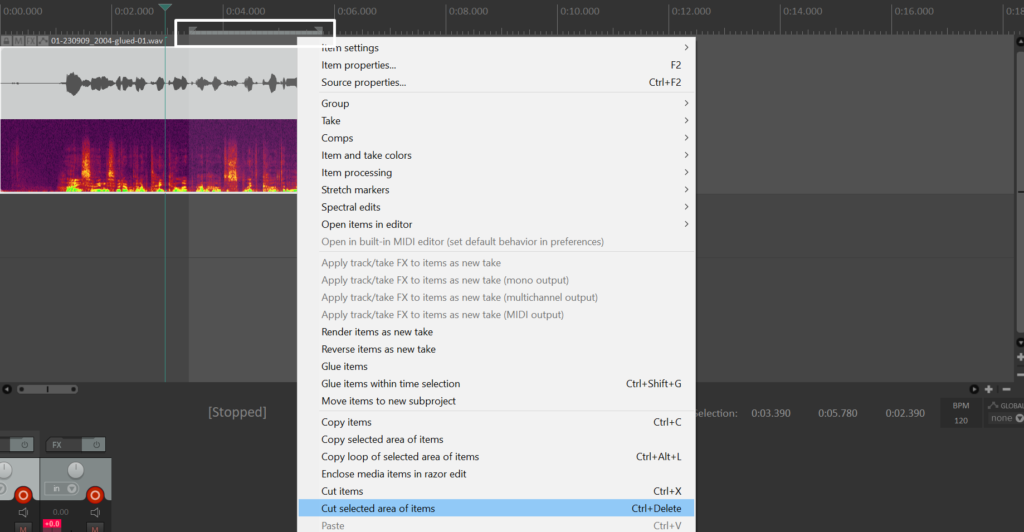
To cut a part of your clips place your cursor at the top of the timeline (Marked with a white rectangle in the picture below) and select the part of your audio you want to cut out. Next, click the right mouse button and choose ‘Cut selected area of items‘ or CTRL+Delete options and now you can paste that part of your audio wherever you like with CTRL+V.