Clicks may come from the keyboard or they could be mouth clicks. Either way, it ruins your audio recording and listening experience. So, here’s a quick guide on how to get rid of clicks within Premiere Pro.
- Go to Effects > Audio Effects > Noise Reduction/Restoration > Automatic Click Remover
- Drag the ‘Automatic Click Remover’ effect onto your audio
- Click on the affected audio track
- Go to Effect Controls > Automatic Click Remover
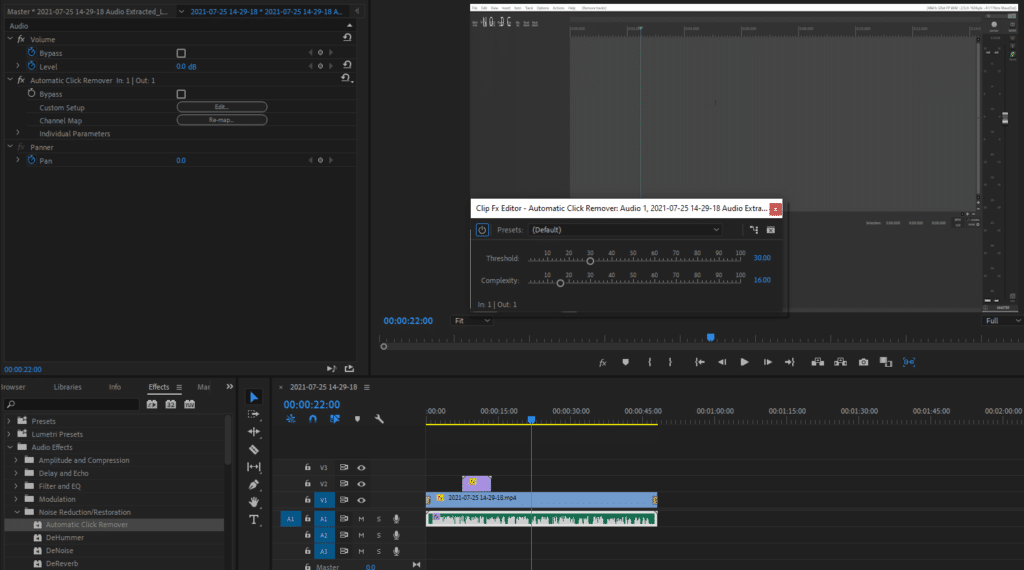
- Click ‘Edit’ next to Custom Setup
- Adjust Threshold and Complexity to your liking
Here’s some guidance on what Threshold and Complexity settings mean:
Threshold determines the sensitivity. The lower the threshold the more clicks will be detected. If you set it up extremely low some false positive clicks might be detected, however setting it too high will leave out some of the clicks you would wish to remove. The default threshold value is 30 which in my opinion is a sweet spot, set it lower if it misses some of the clicks.
Complexity determines the intensity of an effect. Setting it low will subtly diminish the clicking sound without reducing the audio quality much. Setting complexity high will make the effect more aggressive and will either completely or almost completely remove most of the mouth clicks. This, however, might introduce some audio artifacts and could reduce audio quality.
I like to leave the threshold at the default value of 30 and set up complexity somewhere around 40-50. However, if mouth clicks are very audible higher complexity might be required. Find what works the best for you.
Pingback: How to Improve Audio Quality in Premiere Pro? - Voice Over Tip